You’ve probably seen many pictures posted around the internet of roller coasters and rides, with some looking like they were taking with a cheap $5 camera all the way up to ones that look like they’d belong inside of a magazine. Now, you don’t always have to take a photography class to learn how to take a good picture (it does help though!) but a majority of the time you just need to learn how to use your camera correctly. The first part of this series will dive into getting your camera setup and then learning how to use some of the basic features your camera has built-in.

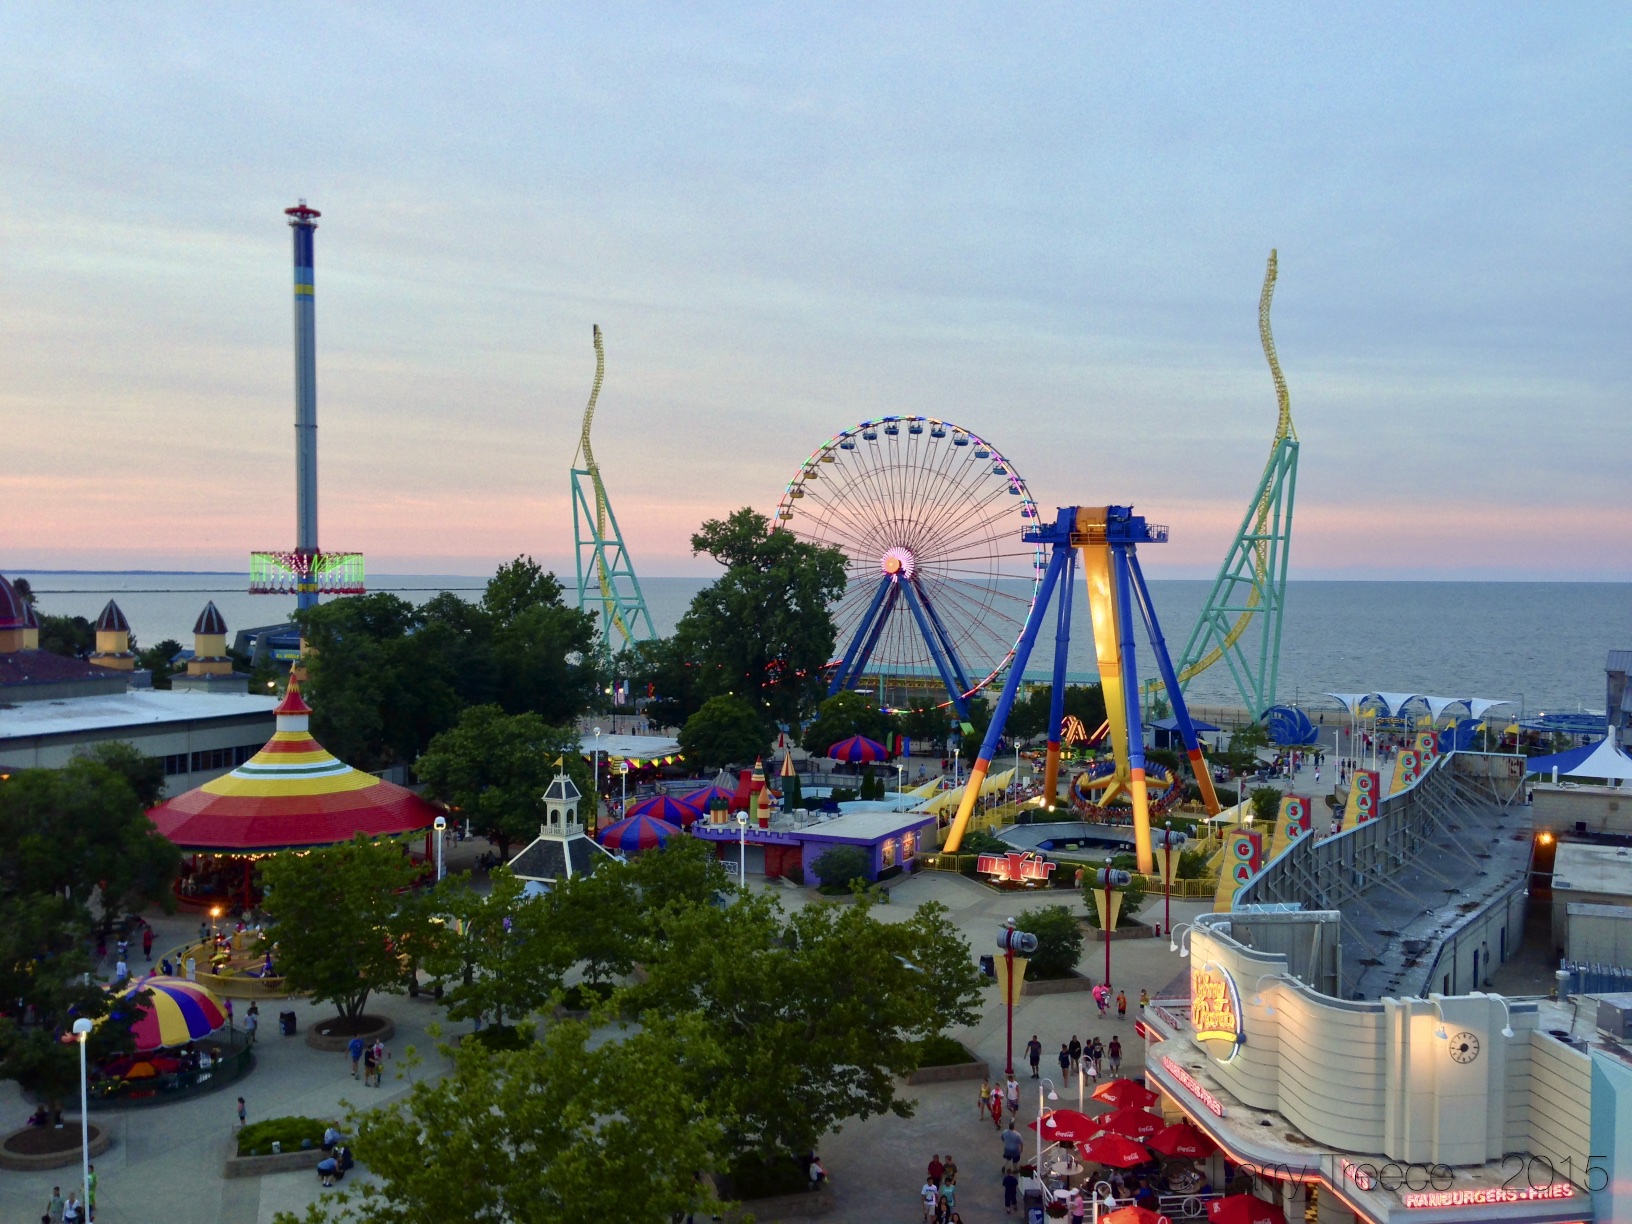
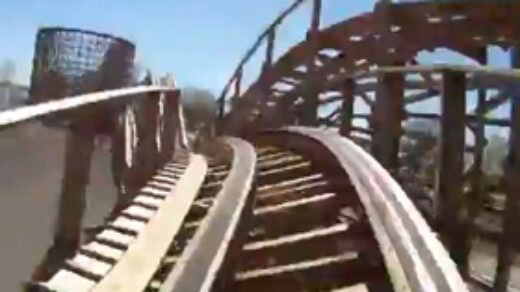
f/5.6 – 1/1000 – ISO 200 – 30mm
Note: Each image posted will have a small excerpt of the metadata I shot the image at. It’ll list the aperture, shutter speed, ISO, and focal length. The pictures have also been through post-production and carefully edited to fit my liking.
The Basics
First of all, in order to take pictures, you need a very important device: a camera. This can range anywhere from a cheap cell phone, point & shoot cameras, all the way up to a very nice DSLR (digital single-lens reflex) camera with various interchangeable lenses. Now of course you don’t always need a high-end, expensive camera to get great shots, you just need to learn how to use you camera properly.
f/2.4 – 1/30 – ISO 50 – iPhone 5
For those that want to take pictures with cell phones, the most important thing to do first is clean your lens! You’d be surprised on how many pictures I see posted around the internet, all taken with fairly nice phones, where the picture looks like a smudgy, blurry mess because the lens is covered in grease and dirt. Protective cases that cover the camera lens also decrease image quality because you’re putting a piece of scratch-able plastic between your very nice camera lens and the subject your shooting. My suggestion would be to get a good, protective case that allows the camera lens to be exposed. Depending on the phone manufacturer, you usually don’t have to worry about your camera lens getting scratched up as it’s usually a very sturdy glass, or in the instance of some phones like the iPhone 5, a piece of sapphire glass which is virtually scratch-proof.
Point and shoot cameras have come a long ways in the past couple years and there are some very nice ones on the market. There are some differences though that you’ll have to keep an eye out for. Those that have optical zoom are far superior than ones that have digital zoom. Optical zoom uses a mechanized layer of lenses to zoom in and out, while digital zoom crops the image to effectively “zoom” in, but causes severe loss in image quality. There are also various kinds as well, such as the smaller ones that fit into your pocket, all the way up to ones that have large zoom lenses and have features similar to a DSLR. There are even some point and shoot cameras that have interchangeable lenses and are called mirror-less cameras because they don’t have the retractable mirror that a DSLR has. (More on that in a sec.)
Digital single-lens reflex cameras, or DSLR for short, are the cameras that you’re able to get some of the highest quality images and also have the ability to swap to various lenses depending on your needs. The reason why they’re called single-lens reflex (as they were just SLR back in the film days) is because there’s a movable mirror that allows you to view the image through the viewfinder, but it flips up when you push the shutter button to take the picture and exposes the scene onto the camera’s sensor. There’s a whole technical side that I can get into, but you’ll have to take a Photography 101 class to learn all of that because there’s a lot of information that I cannot fit into this post.

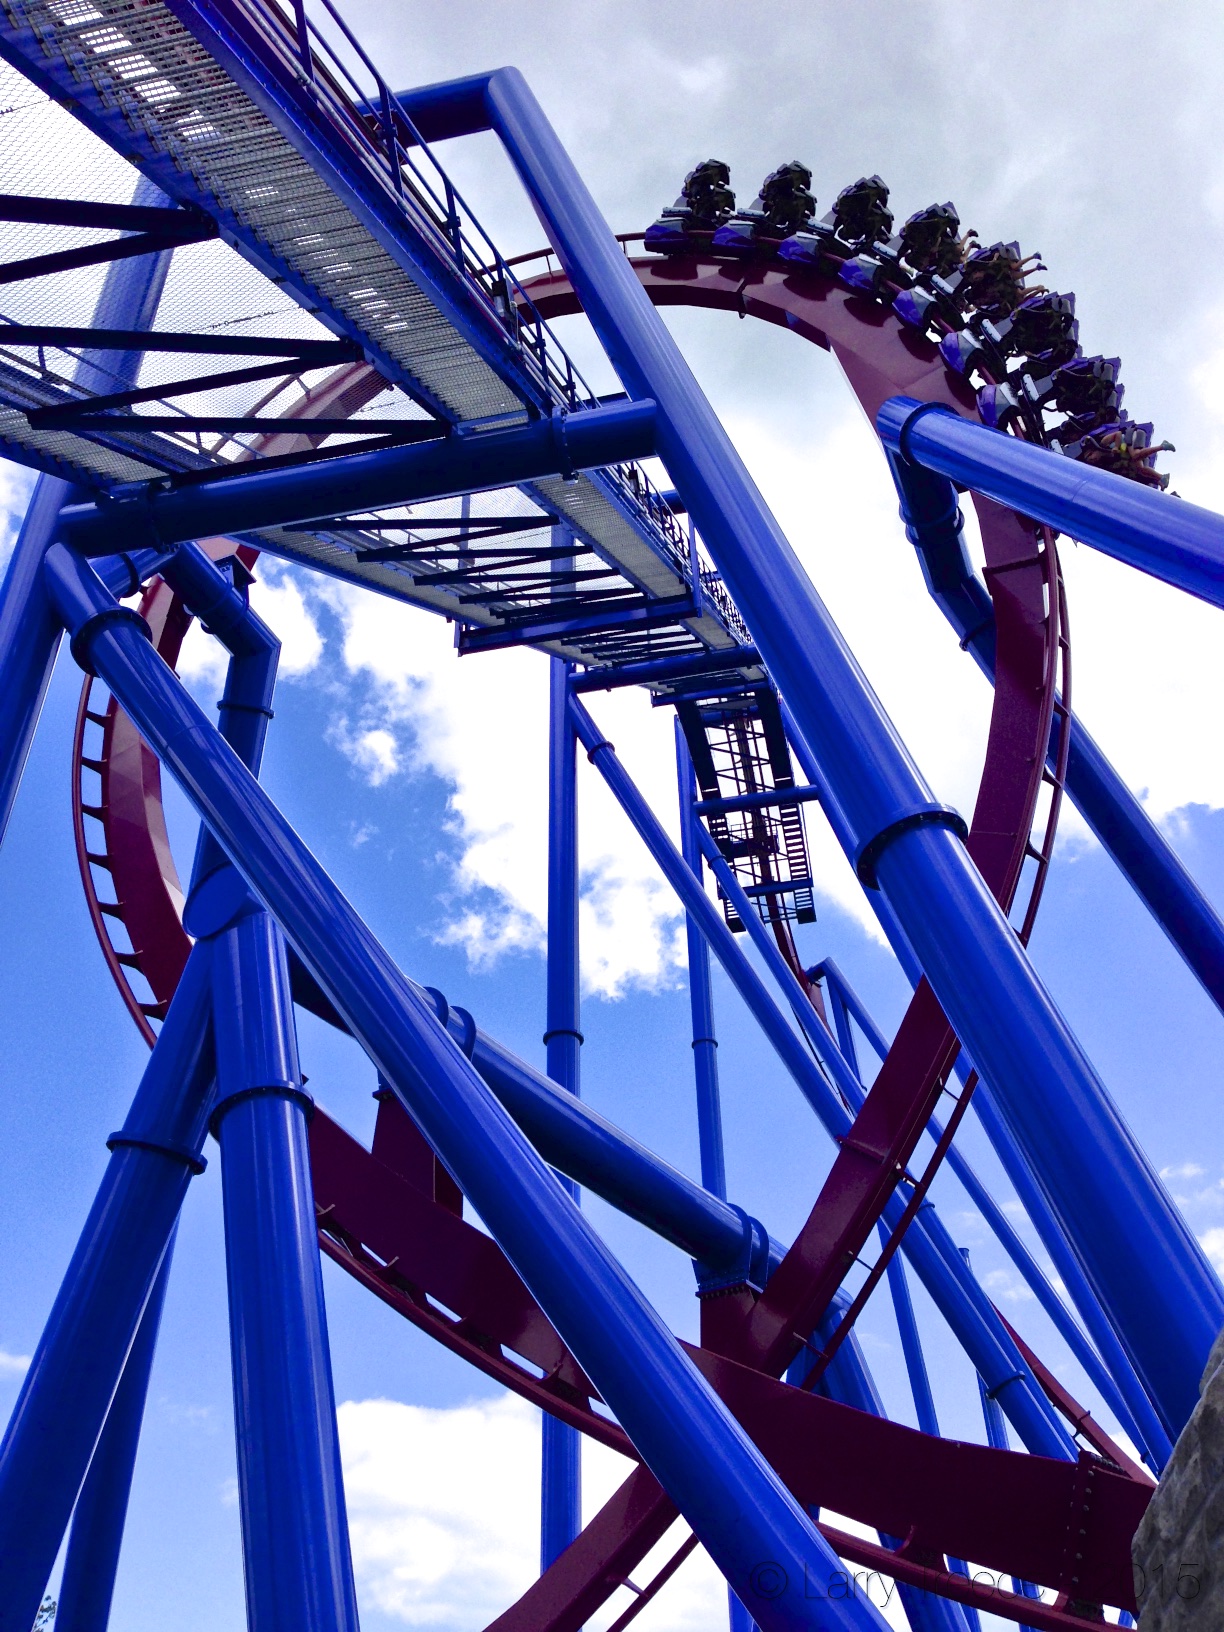
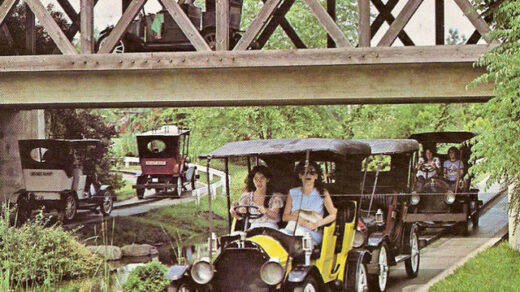
f/5.6 – 1/640 – ISO 200 – 300mm
Now in terms of lenses, there are a few different ones such as telephoto, wide angle, and standard. They’re also represented in millimeters, which is the distance from the lens to the camera’s sensor. The smaller the mm, the wider the angle and the more that can be seen in the image. The bigger the mm, the closer you’re able to zoom in on the finer details. A wide angle lens is anywhere in the 11mm to 24mm range. Standard (which is generally regarded as the perceived view of your eyeball) is in the 35 to 50mm range, and telephoto is anything greater than 70mm and up to 300mm. Now for park photography, you’d want a lens that can pretty much do all 3 of these, because you don’t exactly want to carry around a backpack full of lenses all day. On the camera that I use, which is a Canon Rebel T4i, I use a 28-135mm lens, which gives me a good range of zoom and focus. There are of course some specialty lenses such as tilt-focus, fish-eye, macro, and super telephoto, but those can be really expensive and not really practical to use for amusement park photography.
Other gear I recommend bringing would be a lens cleaner (LensPens work great,) a compact tripod if you want to take evening/night shots (this AmazonBasics tripod is what I use,) extra memory cards, batteries, and of course a bag to carry it all in. The less gear you bring, the easier it is to carry around and less inconspicuous. Depending on park policy, you might have to rent a locker for the day to put your backpack in when rides won’t allow loose articles on the platform.
Shooting
Now that we’re past the equipment, let’s go on to your camera’s features. I’m going to be talking a bit more detail here, so be prepared for a lot of info.
f/2.4 – 1/1506 – ISO 50 – iPhone 5
Now if you’re shooting from a cell phone, chances are, you’re already good to go. The only thing that I suggest you NOT to do is shoot a picture via a social media app, or with a digital filter on. The apps might not use all of the features built-into your phone’s camera, so I always recommend shooting with the phone’s built-in camera app, or with a paid camera app such as Camera+. iOS’s built-in camera app does allow you to shoot with a filter on, but the good thing is, you can remove the filter from the original image if you decide you don’t want it. Personally, I wouldn’t bother at all with any filter, save it all for post-processing. (I’ll explain all of that in the next part.)
Starting with the iPhone 6S, Apple introduced “Live Photos” which essentially captures not only a picture, but also a quick video of that scene as well and its all integrated into one file. Its a great way to capture the moment and able to re-live it over again without taking a separate video. The video quality isn’t all that great, since its only a few seconds long, but it’s still a fairly new feature of the iPhone, so hopefully the next generation will up the quality a bit.
Point & shoot and DSLR camera have many options you can pick from in terms of shooting modes. Let me get this out of the way first: DO NOT USE THE GREEN AUTOMATIC SHOOTING MODE! EVER! You do not want your camera deciding on your exposure for you. I’ll explain in a bit about exposure, but the reason why you do not want your camera to automatically do it is because of how it works to determine a “correct” exposure. Your camera is simply dumb and what it thinks is a “correct” exposure can cause your scene to be under or over exposed and leave you with a poor looking image.
If you have a DSLR or a high-end point & shoot that offers it, always shoot in the RAW format. Yes, it can take up a lot of space on your memory card, but this retains more detail than a JPEG. You should only use the highest fine JPEG mode if you’re running out of memory card space or if your camera is unable to shoot in RAW. I’ll get into why you need to shoot in RAW in the next post. Just know for now, always shoot in RAW if possible.
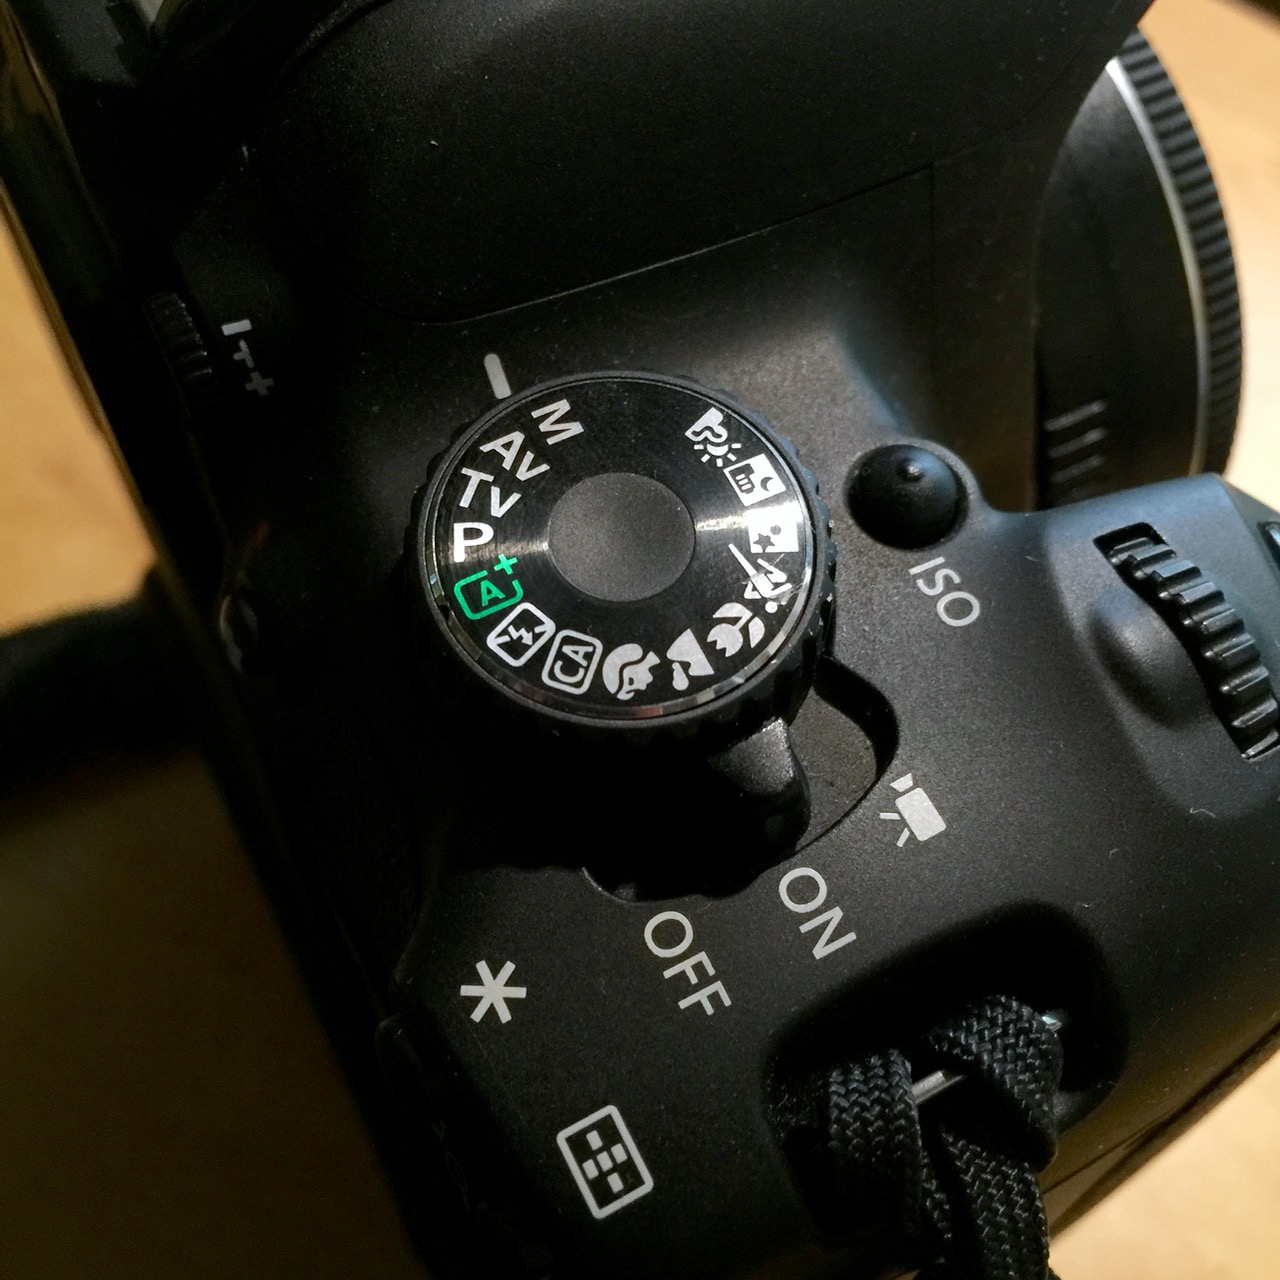
A typical Canon mode dial. This will vary on camera model and brand.
Most higher-end point & shoot cameras and all DSLR cameras use 3 determining factors on how an image is exposed correctly: aperture (or f-stop), shutter speed, and ISO. Aperture controls the amount of light that enters through the lens, shutter speed is how fast the shutter is going to move in seconds, and ISO determines the sensitivity of the sensor. These can be controlled on 3 basic modes on your camera: manual (marked with a “M” on your mode selector) aperture priority (usually marked as “Av”) and shutter priority (usually marked as “Tv”.) All of the modes allow you to control the ISO, but manual allows you to control both aperture and shutter speed, aperture priority allows you to control the aperture but the camera will determine the shutter speed, and shutter priority will allow you control over the shutter speed but the camera determines the aperture. Personally, I shoot on manual as it allows me full control over how I want the image to look.
A lower aperture, such as f/2.8, allows a lot of light to hit the sensor, but causes a low depth of field.
A high aperture, such as f/8, allows for smaller amount of light to hit the sensor, but allows a much large depth of field.
Faster shutter speeds from 1/250 to 1/2000, allows you to freeze fast moving subjects, such as roller coasters or the Drop Tower at Kings Island, but will require more light.
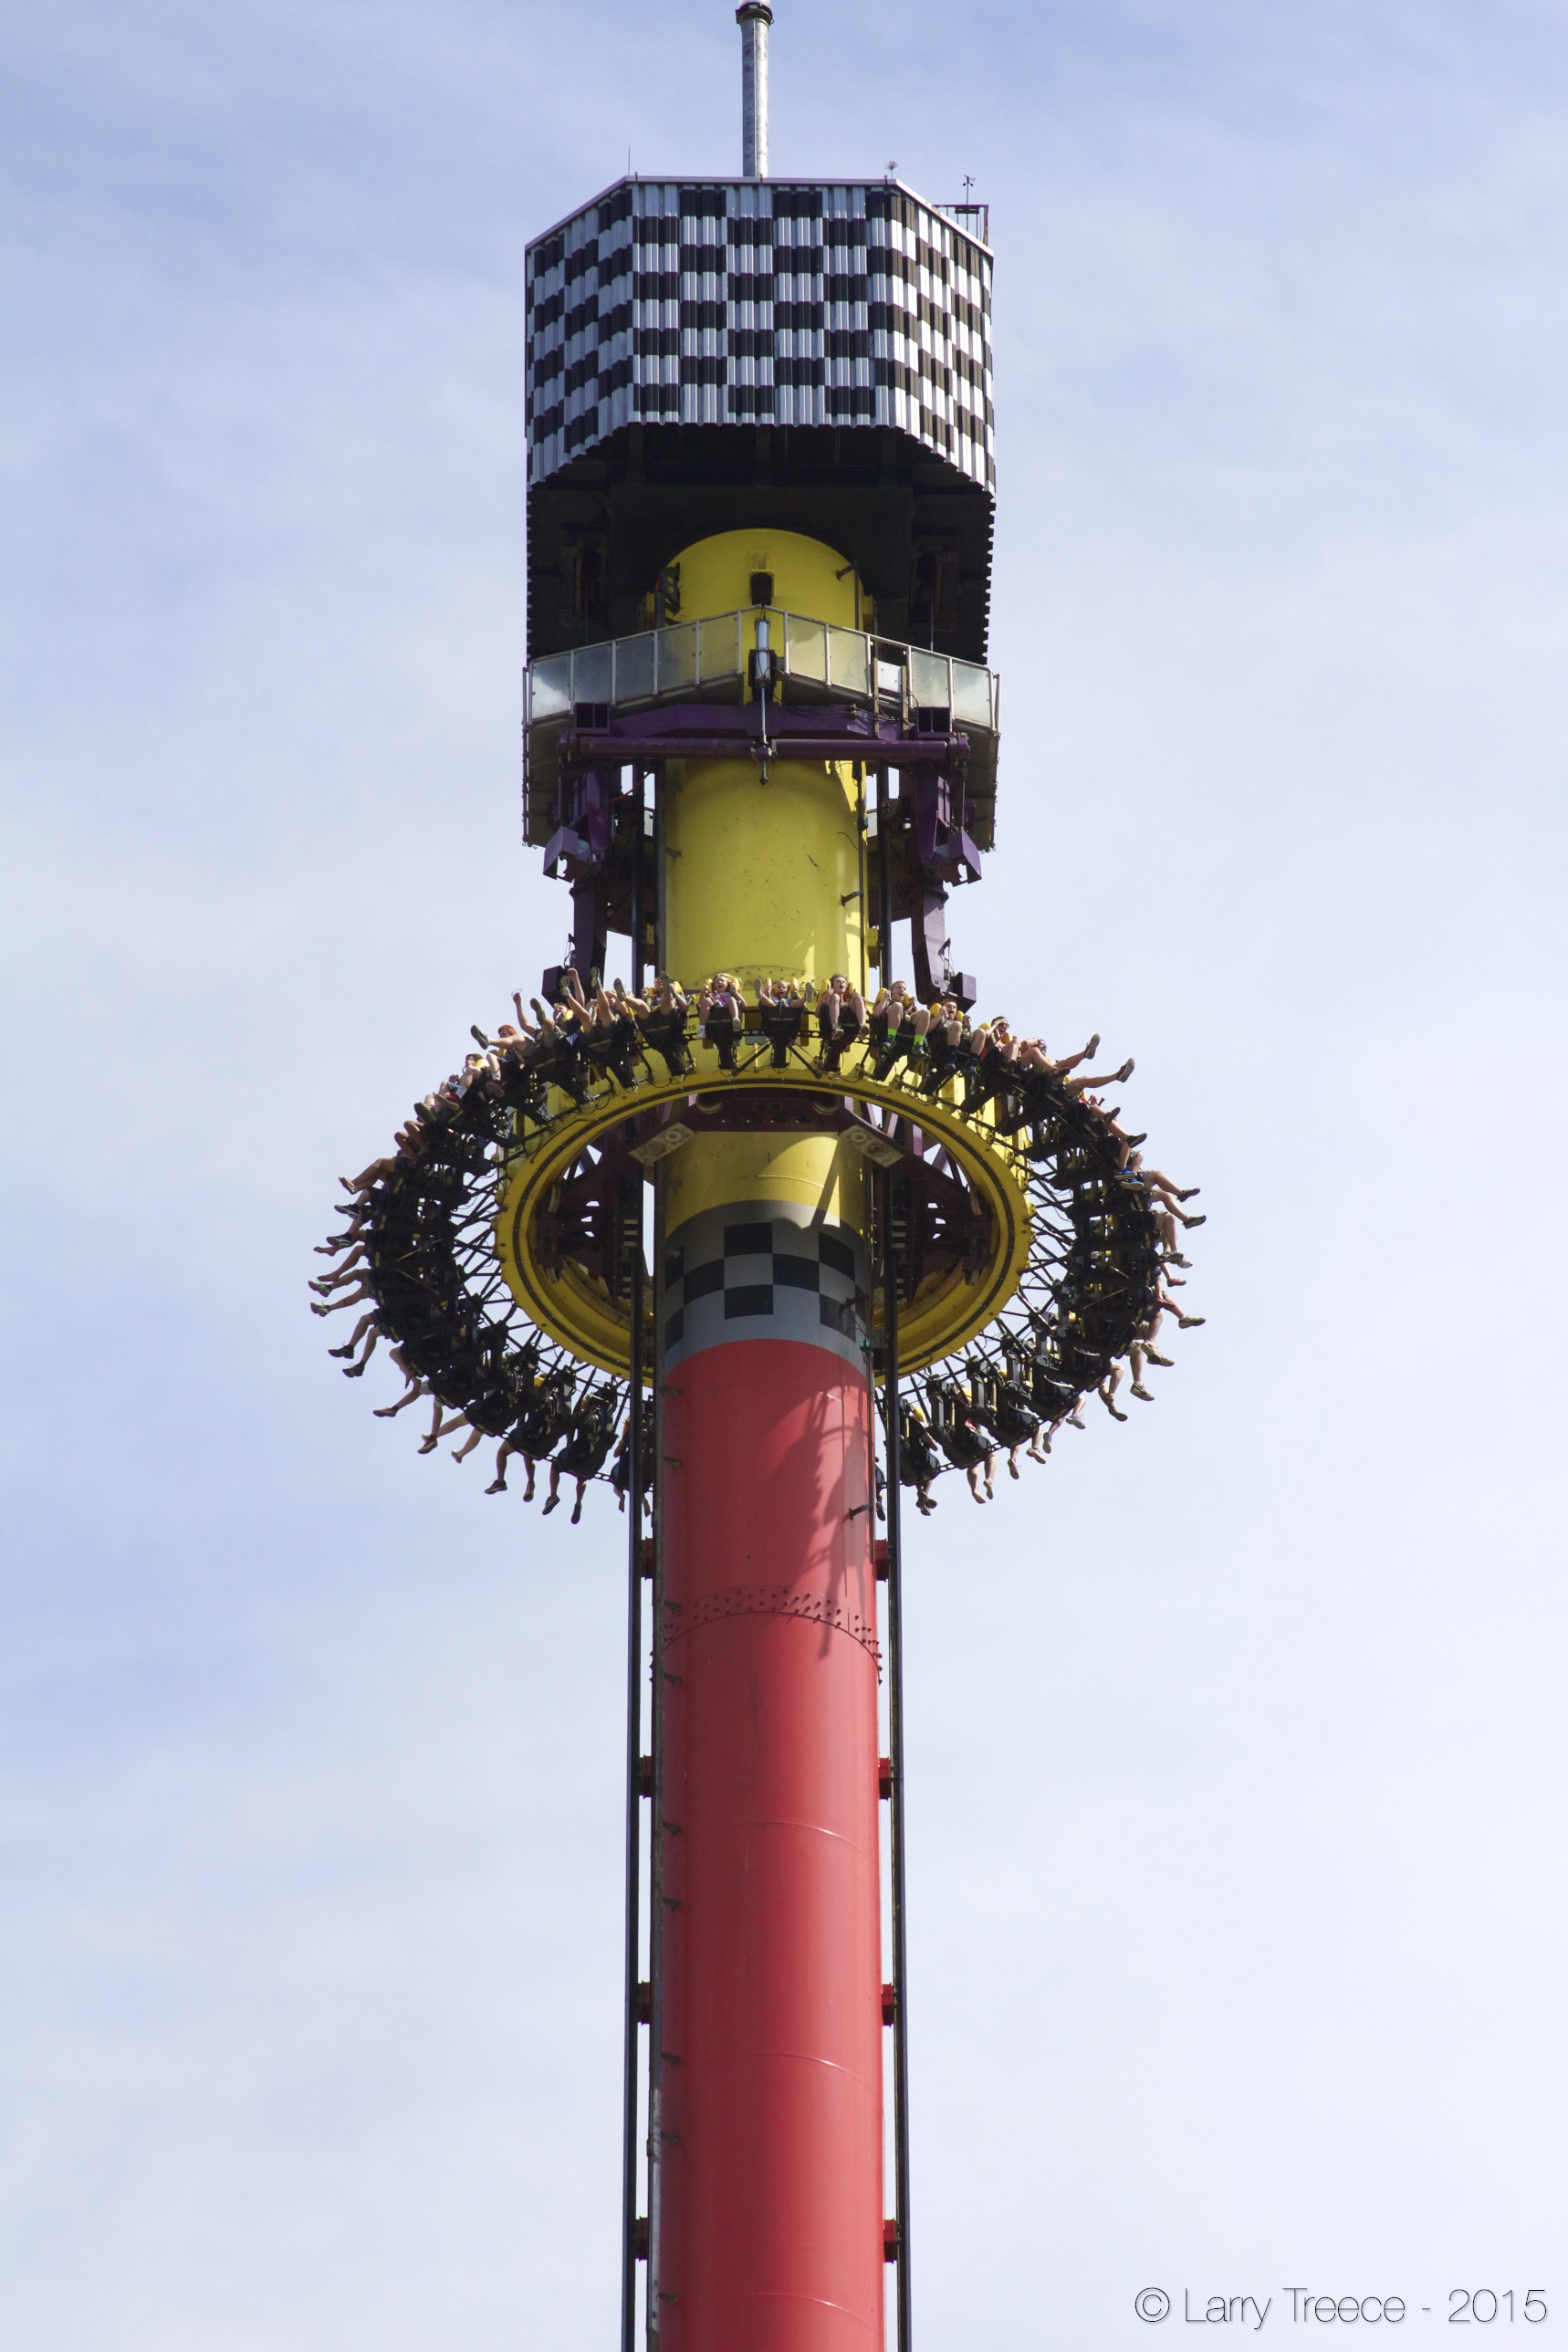
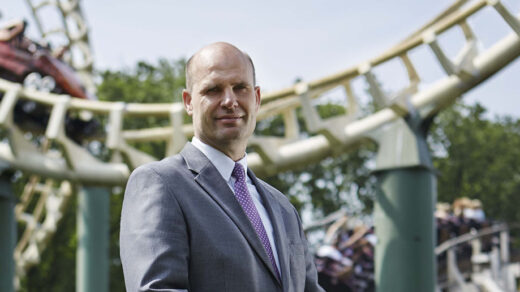
f/8 – 1/1250 – ISO 400 – 100mm
Slower shutter speeds, such as 1/60 to 10 seconds, allows you to capture night time scenes, such as the LED light show on WindSeeker. Anything lower than 1/60, highly recommend using a tripod or another sturdy surface to set your camera on.
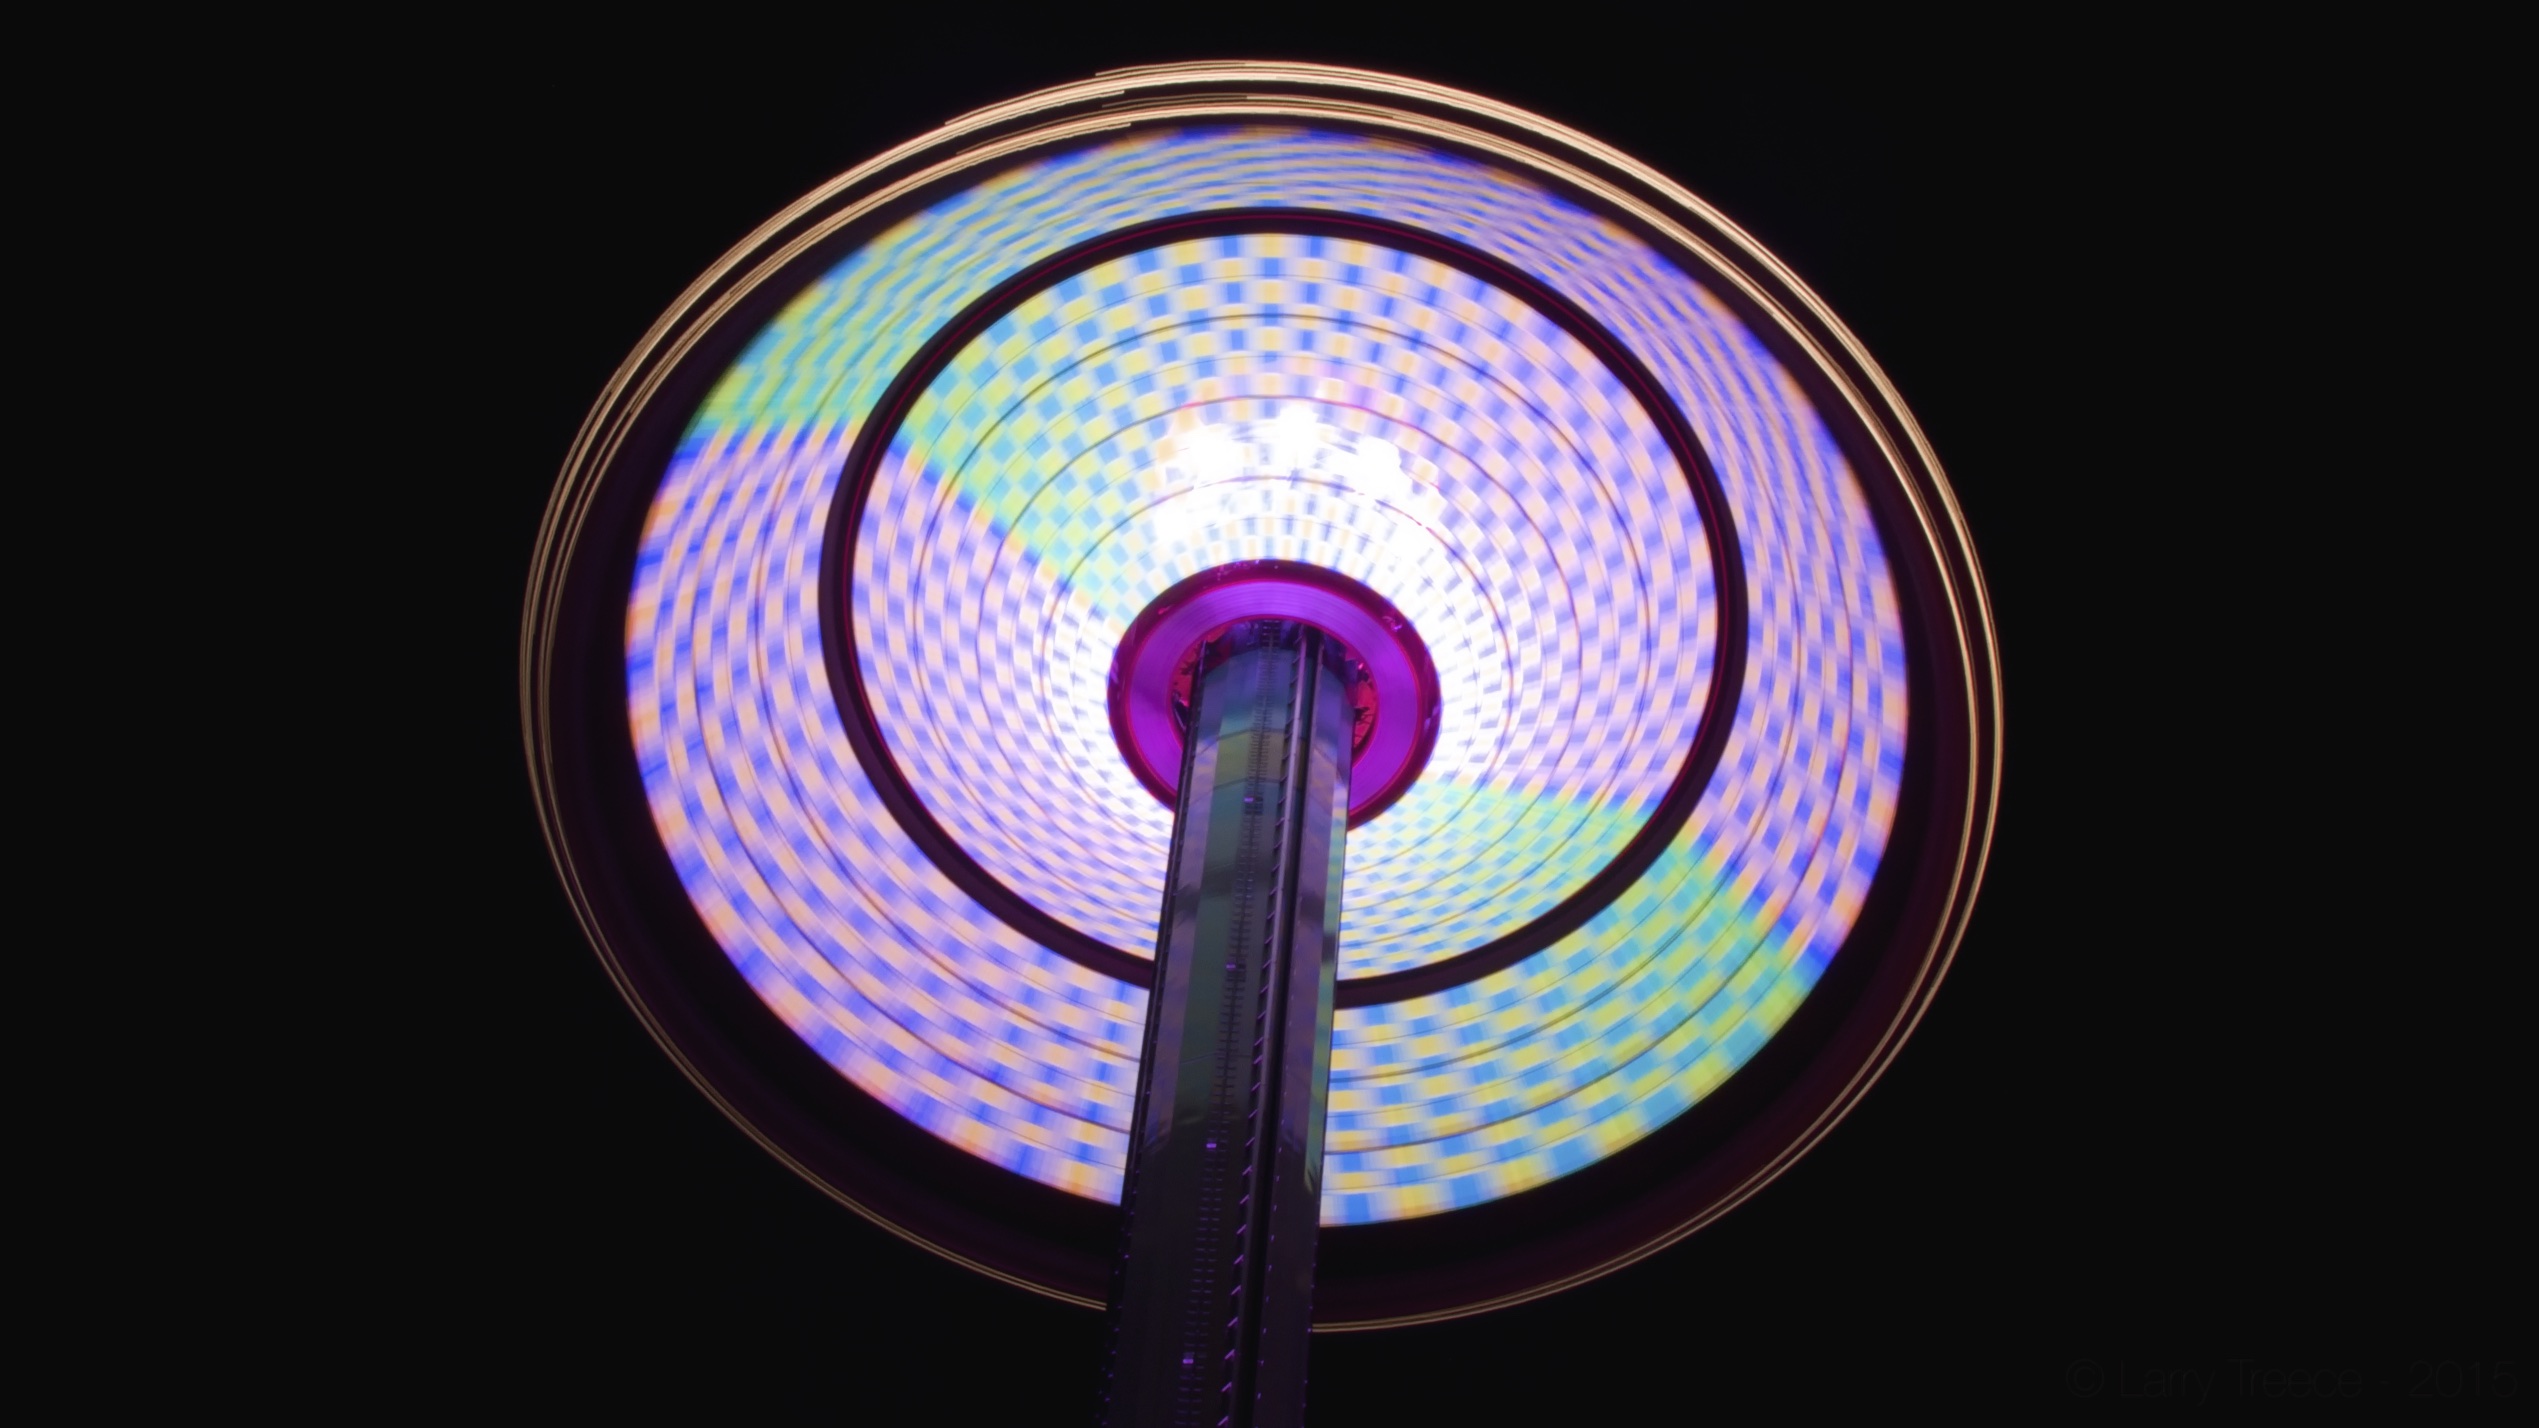
f/7.5 – 3.2s – ISO 80 – 70mm
A low ISO such as 100, 200, or 400, brings out the most detail, but the sensor is not as sensitive
A high ISO such as 800, 1200, or even 6400, makes the sensor more sensitive to light, but also degrades the image quality and makes the picture more noisy.
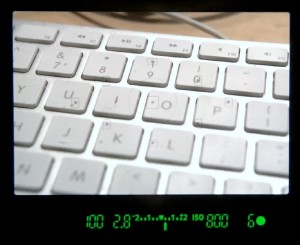
The inside of a Rebel T4i’s viewfinder. Displayed from left to right: shutter speed, aperture, exposure meter, ISO, sequential shots left, and the dot is the camera is ready.
You might notice a little bar located somewhere on your camera, either in the viewfinder, or on an LCD screen that usually goes from -2 to 2 with a 0 in the middle and a little dot that moves. That’s your exposure meter, which is your camera telling you how your scene is exposed. Let’s do a couple examples here to show you how to use your meter correctly.
You’re at the top of the Eiffel Tower at Kings Island and you want to take a great shot of Banshee’s entire layout. First thing I’d set is your aperture. For subjects that are far away and you want the most detail out of your image, you want to set a higher aperture, so let’s say for this I set it to f/8. Shutter speed, I’ll set to 1/300 for now and ISO I’ll set to 200. You push your shutter button on your camera 1/2 way, your camera focuses on Banshee and the exposure meter says -1. That means your scene might be too dark. Because you don’t want to mess with your aperture since Banshee is quite a ways away and you don’t want the picture to look blurry, you lower your shutter speed down to 1/200, which should cause the meter to say 0. Take your shot! If the picture comes out too bright or too dark still, ignore what your meter says and adjust the shutter speed around to get it where you want it to be so the picture looks good.

f/8 – 1/200 – ISO 200 – 28mm
You want to take a great picture of Top Thrill Dragster launching as you’re sitting in the bleachers watching it take off. Because Dragster is a fast moving subject, you want your shutter speed to be as high as you can, 1/800 or faster. Aperture can be set to f/5.6, and ISO to 400 so your exposure meter says 0. Try and use your camera to follow the train as it’s moving and take a couple shots while you’re moving. Use burst mode on your camera if it has it, which can take multiple shots in a matter of seconds. Now if you notice your image might be a bit too bright, lower your ISO down to 200, increase your aperture to f/8, or increase your shutter speed higher if your camera can. If it’s too dark, bump the aperture down to f/5 or f/4, or in this rare case, move the ISO up to 800. If it’s still too dark, lower the shutter speed, but it might cause Dragster’s train to be a bit blurry.
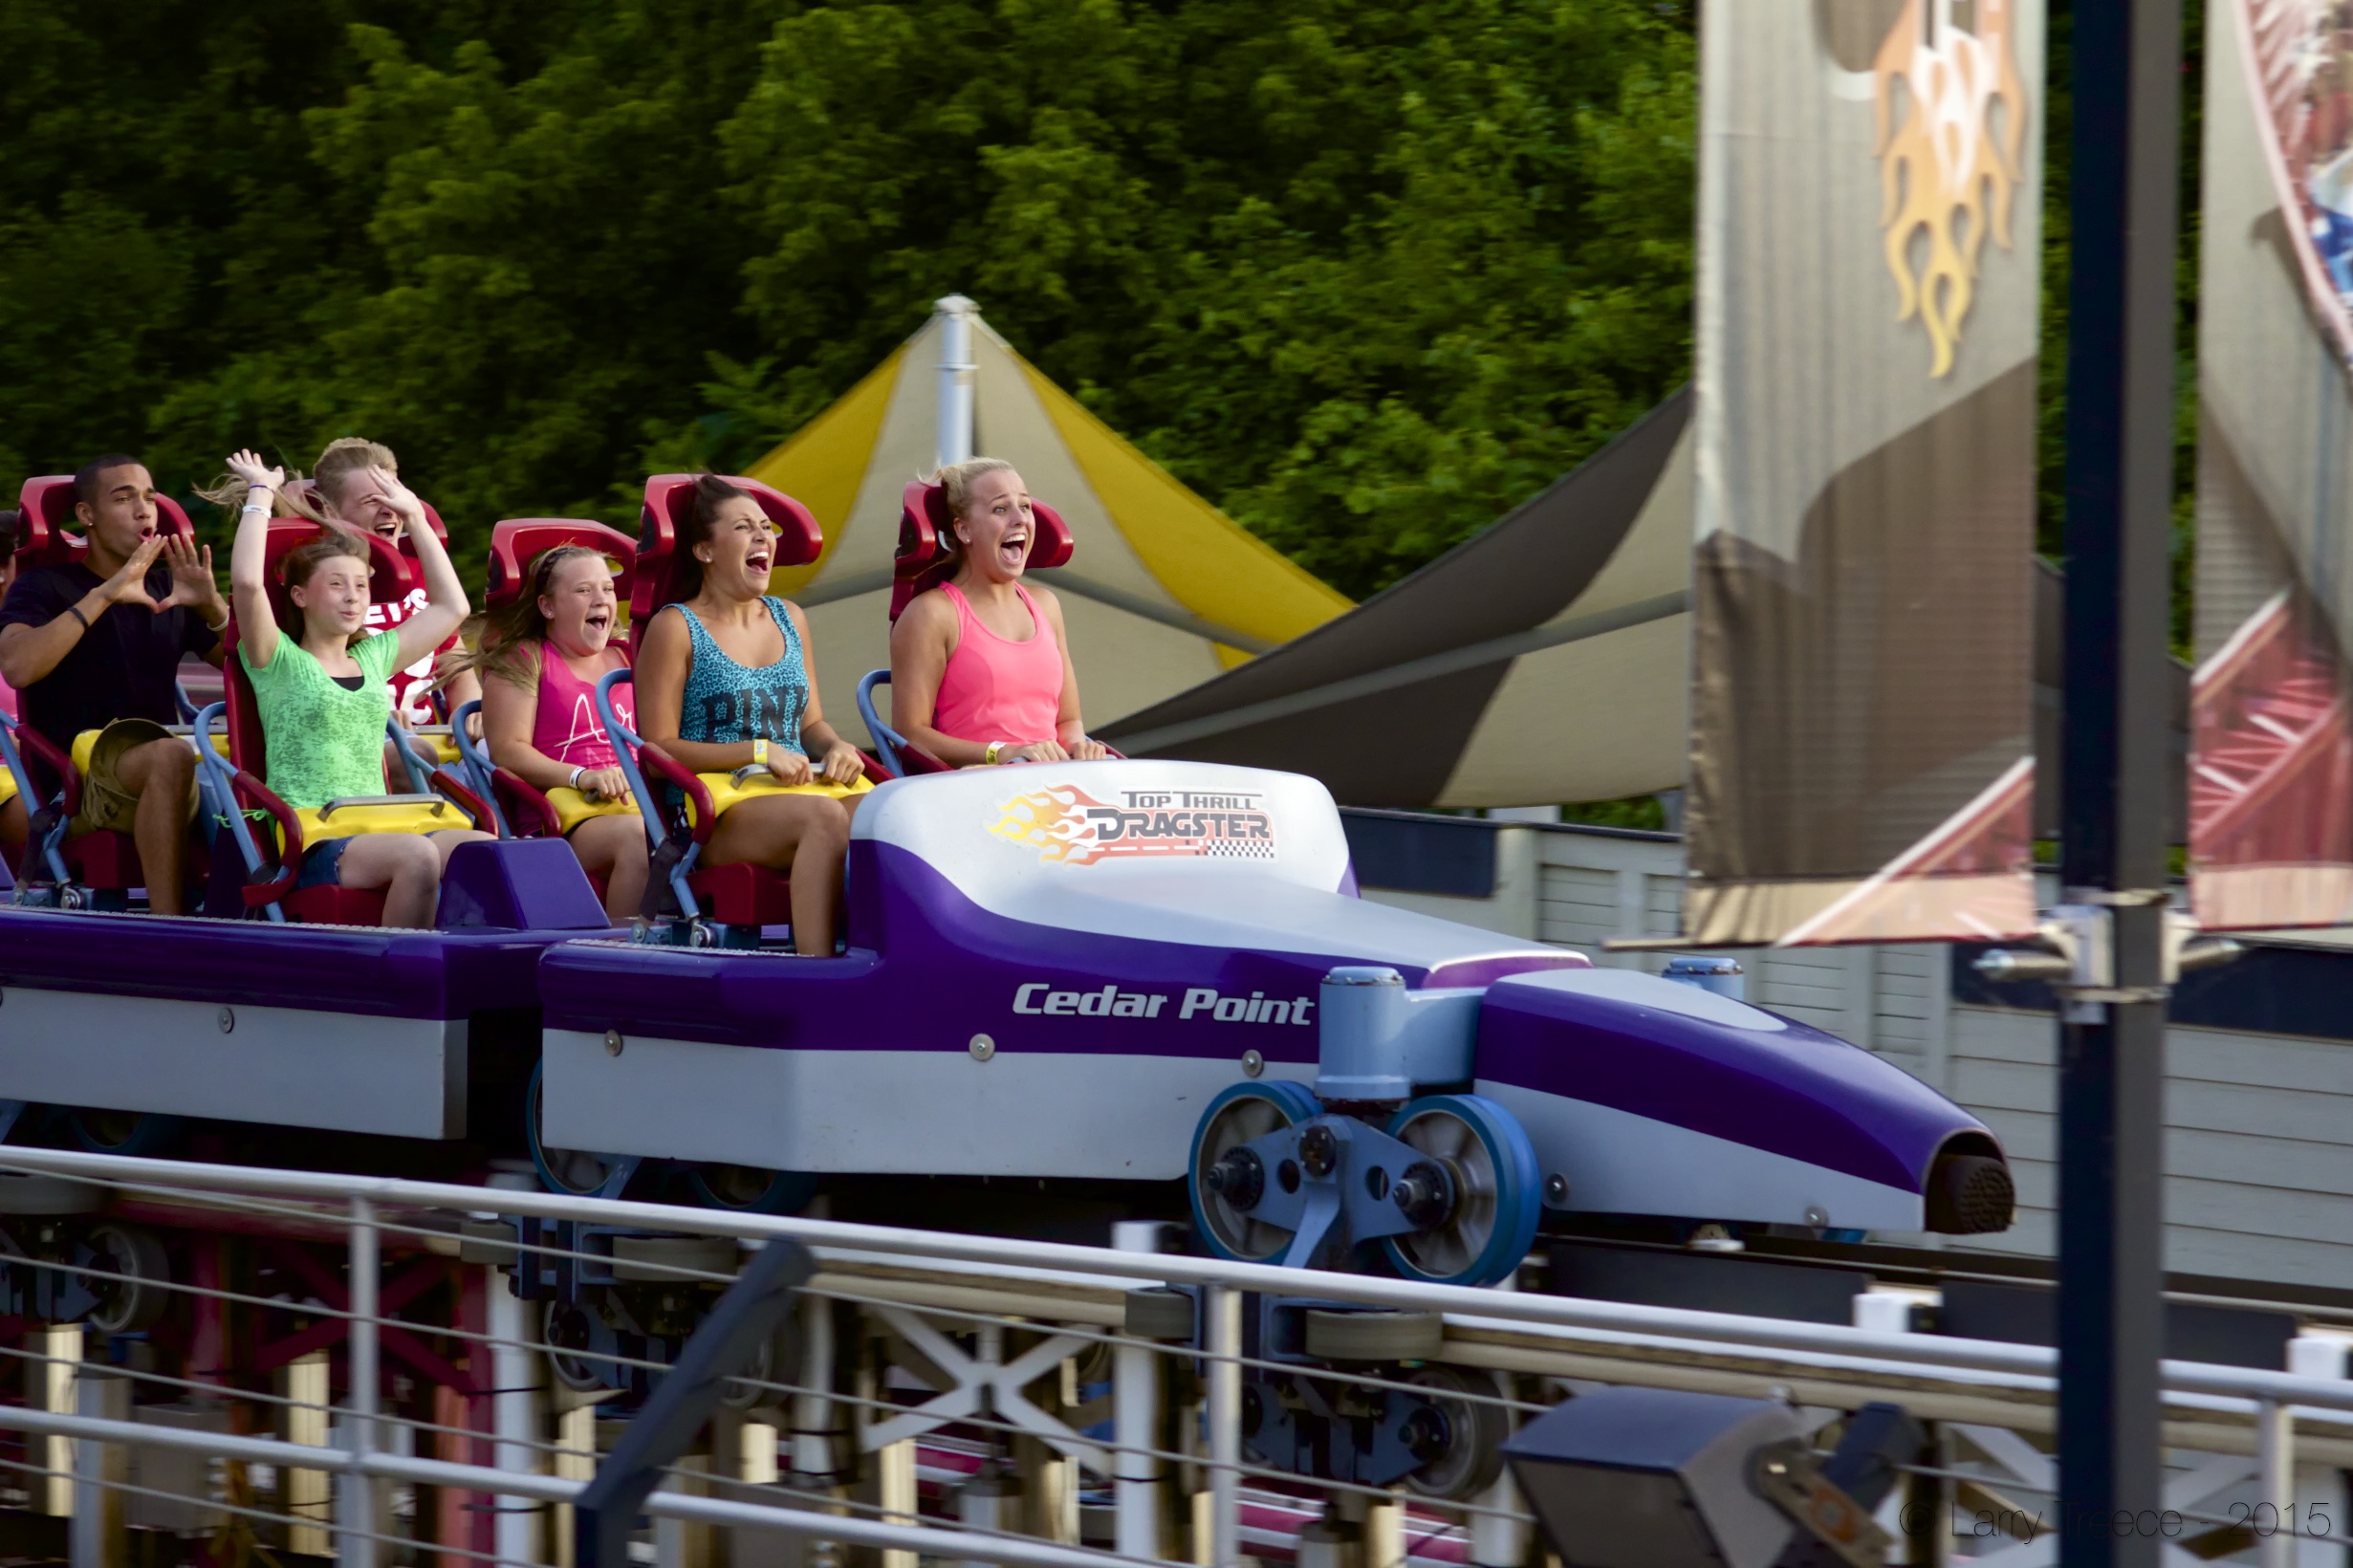
f/5 – 1/800 – ISO 800 – 80mm
Those are just some examples, but you’ll have to see what your camera tells you once you’re out at a park taking pictures. It varies greatly depending on the weather. One thing I do recommend is to leave the ISO as low as possible to get the best sharpness out of your images and hardly ever go past 400. Any higher and the image quality starts to degrades.
Composition
You should now know how to use some of the basic features of your camera to adjust the exposure, but you’re not quite ready to take a picture yet. Exposure is only one half of a picture, the other half is composition, or how you want to position your subjects in you picture.

Example of a ⅓ grid view on an iPhone.
The easiest way to setup your shot is to use the One-Third Rule, which is to spilt your image up into a ⅓ grid by turning on the grid in your camera’s settings, or using the focus points in your camera’s view finder to line your subject up. This will help to center your shot with your subject and so you don’t have to crop your image in post-processing so it looks correctly. Another thing is to make sure your image is straight. Now this might be difficult to do, especially with hand-held shots, but if you can at least get it to the point where the horizon looks flat or your subject looks vertical, you can do the remaining correction in post-processing with very little image loss.
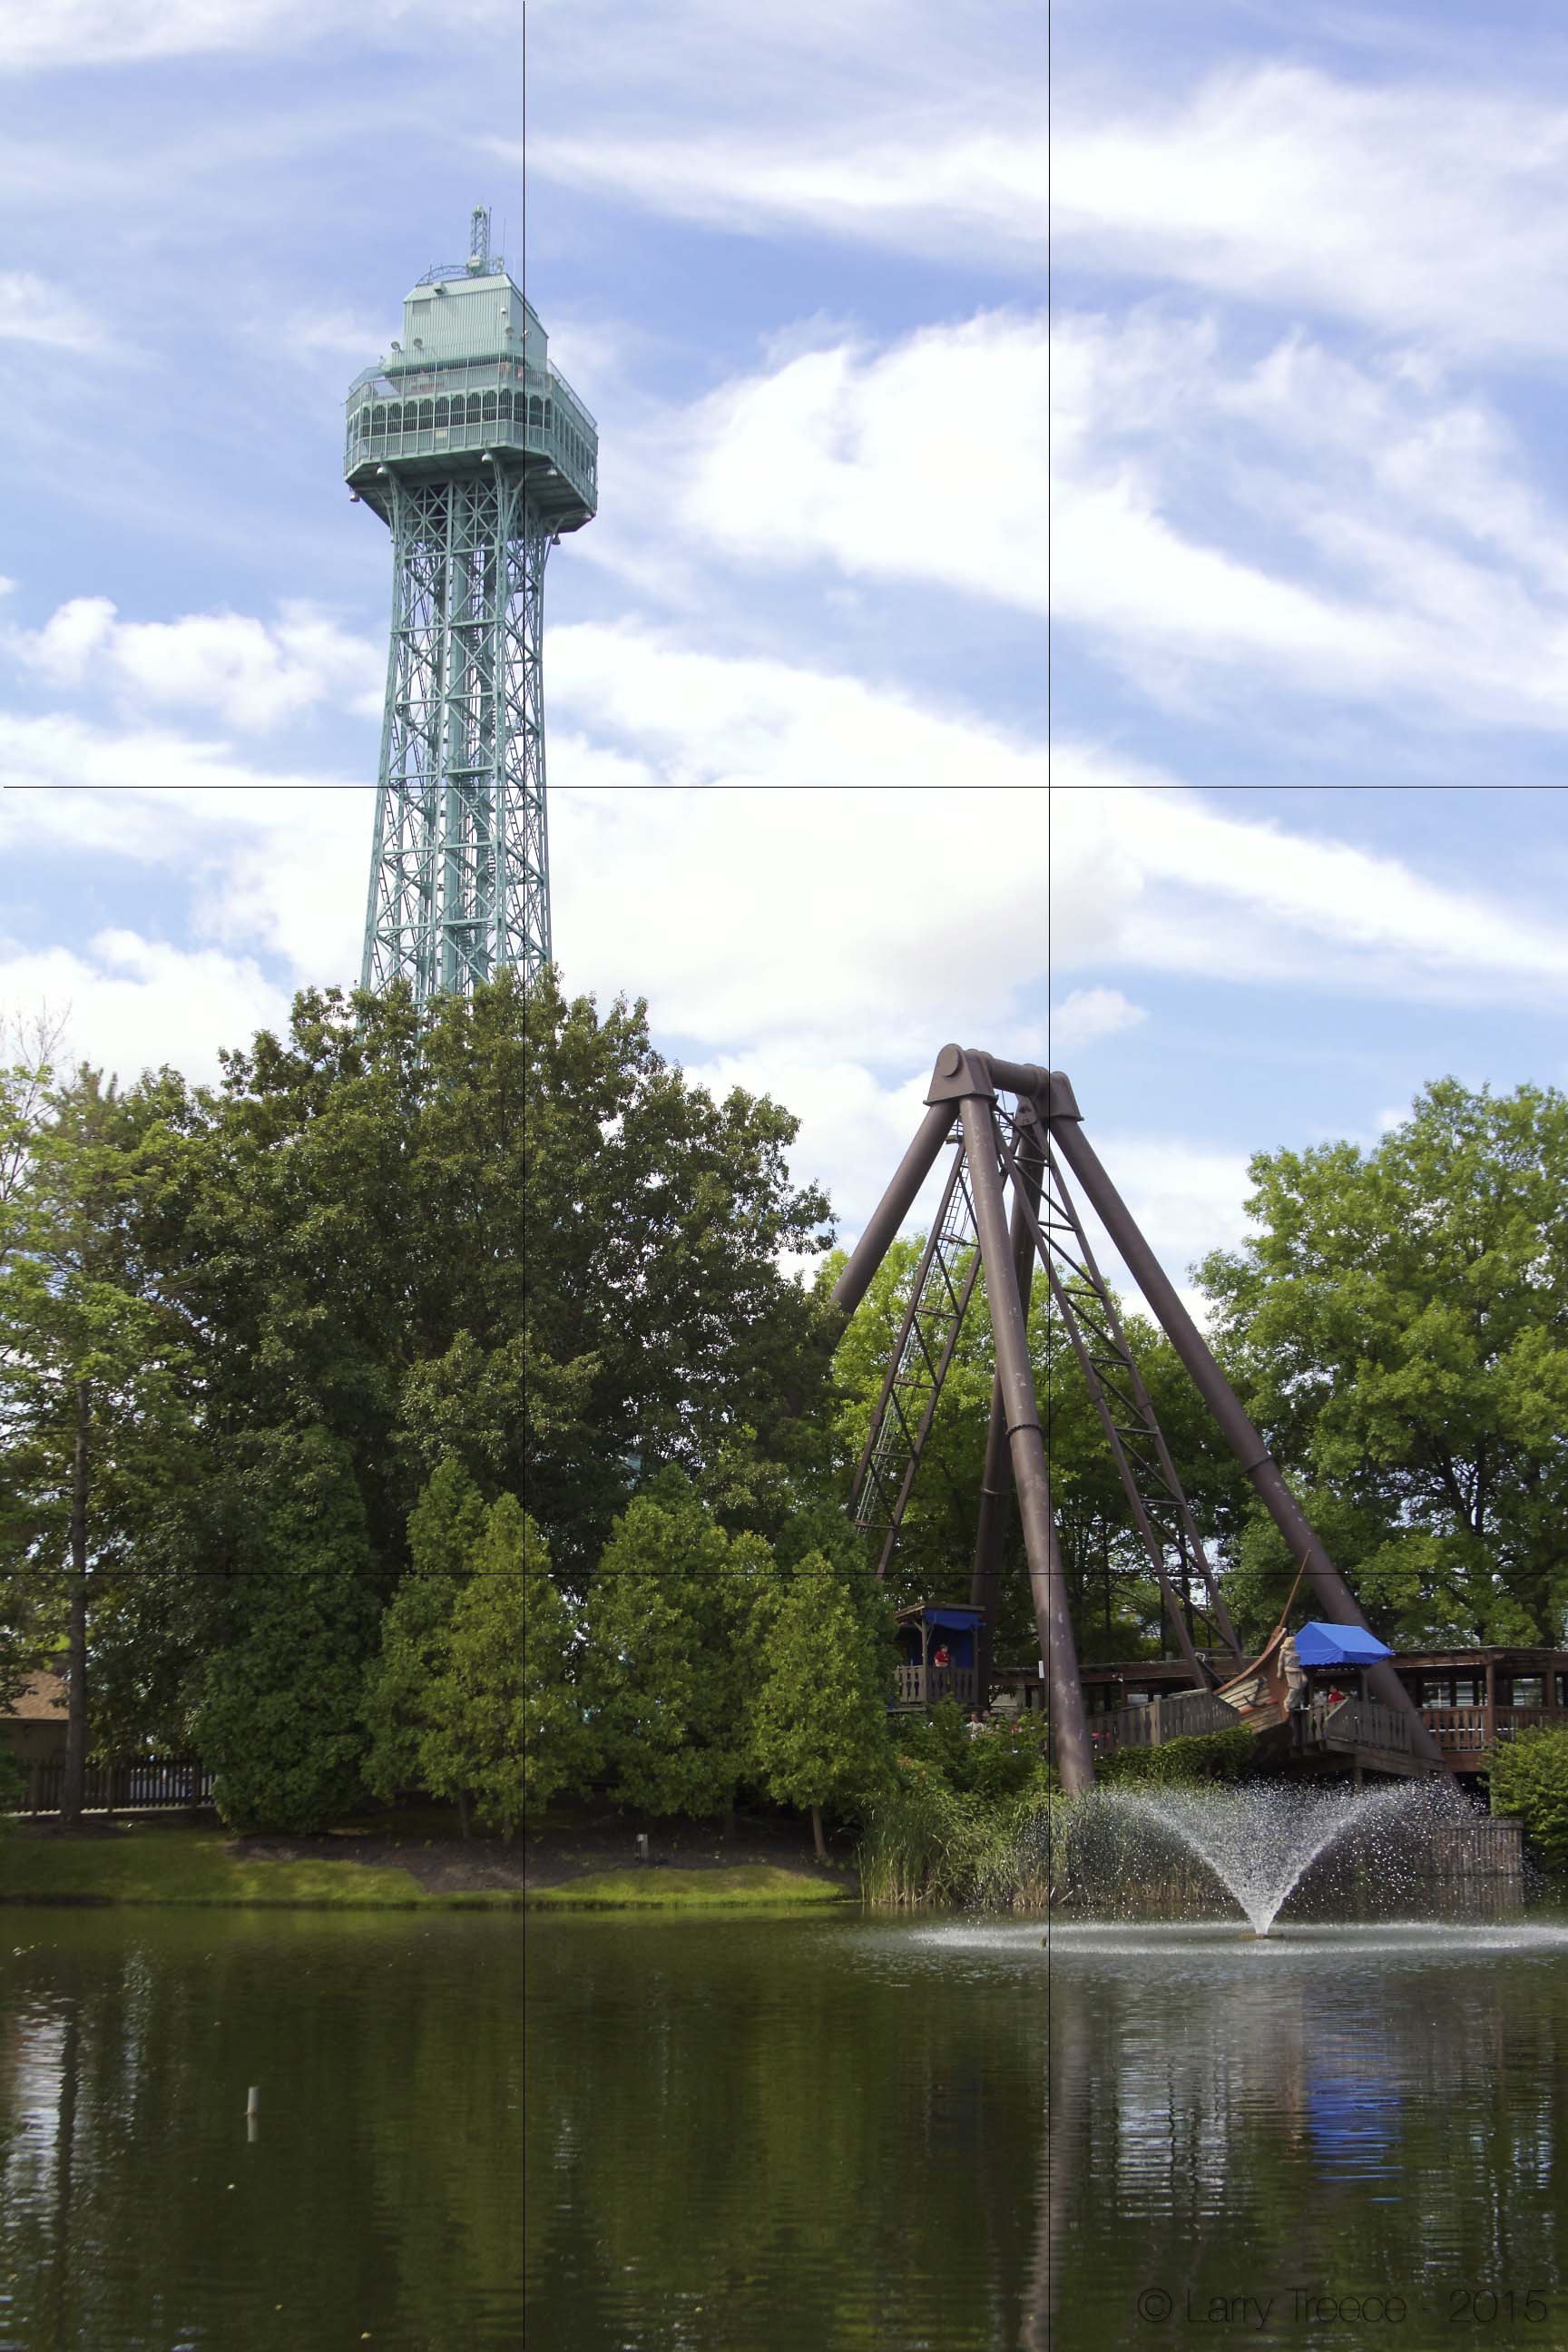
f/8 – 1/400 – ISO 400 – 28mm – Split into Thirds
Let’s take the image above that I took at Kings Island as an example of how to use the One-Third Rule. As you can see, the composition of this image looks very good. The Eiffel Tower is near the left ⅓ mark and Viking Fury is on the right ⅓ mark. If I centered the shot on Viking Fury, it would of made the Eiffel Tower appear on the edge of the image and it would of made the image a bit awkward. If I centered the image on the Eiffel Tower, it would of cut off Viking Fury.
You don’t always have to have your image lineup with the One-Third Rule, but it’s one of the easier way to make your images unique without always having the subject right in the middle of the image. You don’t always have to use the lines either, you can also use the 9 boxes that the lines break up into. It just depends on the way you want your image to look, or how your subject fits into the image.
One unfortunate by-product of the “selfie” generation are the haphazard angled shots. Very rarely have I ever seen one of these shots look successful, they just look like the person doesn’t know how to hold a camera correctly. All of my photography professors have told me this; there’s only 2 angles that you should hold your camera: horizontal and vertical. Your horizon line (where the ground meets the sky) should always be level and horizontal. There are ways to make your image look “artistic” but holding your camera on an awkward angle is not one of them.
PSA: ALWAYS FOLLOW PARK POLICIES! Do not hop fences or enter restricted areas to get “a good shot.” The park put up those fences for your safety. Under NO circumstances should you bring your camera onto rides or coasters, even if it’s a small point & shoot or a cell phone, GoPros especially! Not only are you risking the chance to lose your device, you’re also risking the safety of the people riding the ride or innocent bystanders watching the ride. Plain and simple: DON’T DO IT!
What’s Next?
Taking pictures is only the first step in the photographic process. Post-processing, which is what you do with your images after you take them, will be discussed in the next part. We will then dive into storage, editing, and printing. You can go to part 2 here.


Is an 18-55 lens ok?